Toilet tents are one of the most crucial essentials for camping. These privacy shelters work as portable washrooms or outdoor shower stalls. They will enable the campers to accommodate a toilet wherever they want.
They can change clothes, swimsuits in these rooms too. The tents are not difficult to set up, super convenient to use, cheap and above all, hygienic. The buyers will find both single room and double room versions. They can select from the two options depending on their group size. So, if you are going to a remote area where no pleasantries are available, don’t forget to bring your favorite toilet tent.
After getting one, the first thing you need to learn is how to set up a toilet tent. Follow the step by step guideline to do it:
Step 1: Bring the essentials
Make sure of having all the necessary items you need. Bring the tent, support rods, rainfly, tent stakes, fiberglass, fiberglass poles, upright poles, etc. In most cases, the manufacturers provide all the required items along with the tent. Missing any of them will lead to a failure to have a toilet tent. Unpack all the elements and sort them into different sections. It will help you to find out the right item within no time while building the shelter.
Step 2: Find a perfect area
The area you will be placing the shelter should be flat and free of rocks. Get rid of all sharp objects, sticks, debris which can rip the tent cover. Next, unfold and lay it in the chosen location. If you bring a ground mat for the tent, set it on the ground first. Putting this barrier will prevent moisture and water penetration inside the room. If your tent is water-proof, you don’t have to worry about it.
Step 3: Connect the tent poles
The majority of the tent poles come in sections. You have to put them together. Don’t put the wrong parts together. Make sure to form a strong bond so that the poles will fit perfectly and won’t wobble. Again, there are also some models where the poles arrive in connected form.
It Might Be Helpful:
- How to Clean Toilet Hard Water Stains
- How to Keep Toilet Smelling Fresh
- How to change the toilet valve
Step 4: Assemble the mainframe
Well, this will vary according to the type of your tent. Some tents utilize simple design with two poles. The users have to unfold the tent and open the doors slightly. Then hold it upright with your hands. Separate the sides and extend them properly away from each other.
Then, you will notice two pole sleeves that require inserting support rods. Now push support rods inside the upper pole sleeve. Flip the tent carefully and do the same for the bottom pole sleeve. The simple and effortless installation will be complete.
But when it comes to pop-up versions, you don’t even face a little difficulty at all. As soon as you open it from the container, it will get into the shape itself. Hold the tent vertically and stretch the other half carefully.
At this point, you will see that an inner rod is keeping two sides sticking to the opened ones. Pull the inner rod towards your body and shake the tent slightly to spread the corners perfectly. The tent is now ready to use. Again, the campers may have utility shelters having more tent poles.
Firstly they need to secure the poles into their corresponding flaps or set them using plastic clips. Pay attention to which rods will fit the upper portion of the tent and which one will act as a support. Read the directions on the instruction manual and fit them correctly.
Step 5: Stake to the ground
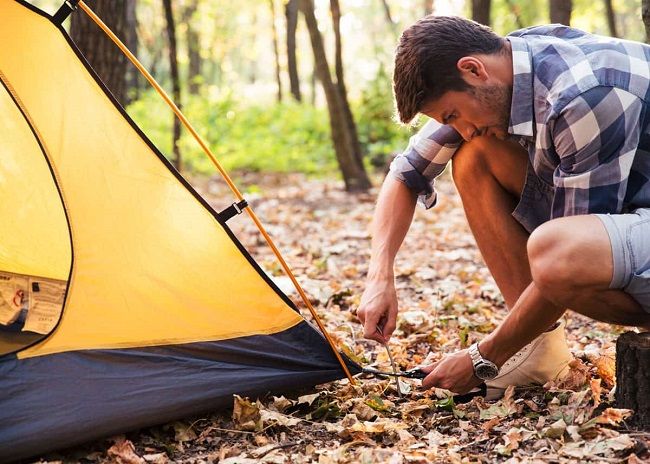
Make the tent more stable by directing the metal stakes through the flaps of the bottom. Push them hard into the ground with hammers or another heavy object.
Step 6: Cover the top of the tent with the rain fly
All portable toilet tents aren’t water-proof. Many of them come with an included waterproof cover to protect it from rain and moisture. If so, place it on the top and secure with the support rods using additional clips or ties.
Conclusion
Now that you know the installation process of privacy tents practice a couple of times before hiking or camping. Because you may not be able to make it properly on the first try, as many tents come with complex designs, it can take some time to assemble. So, try to head for camping before evening; otherwise, it will be tough to set up in the darkness.
Recommended Resources

Leave a Reply