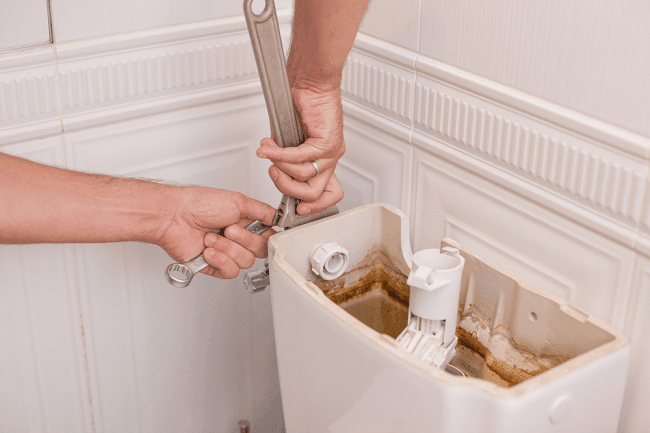
A toilet’s valve is responsible for filling up the toilet tank and cutting off the water supply once the tank is full. With this function, this component is very important and it should be replaced immediately it gets worn out.
Failure to do this will lead to leaks, a lot of water loss and wastage and higher water bills. If you are wondering where or how to begin fixing this issue, the following steps will guide you on how to change toilet valves.
Close-off the water supply
Before beginning this replacement, you must shut off the water supply. You only need to locate the shut-off valve on the wall behind the toilet and then turn it clockwise. It is important to carry out this step so that you avoid flooding up your bathroom floor.
Drain the tank
Once the supply is closed, remove the lid from the toilet tank then flush the toilet. Use a sponge or cloth to absorb the remaining water in the tank while pouring it into the bowl below.
Locate the toilet valve and remove it
Find the fill valve inside the tank and hold it steady as you unscrew the inlet hose and back nut from the underside of the tank (where the water supply connects to the tank).
This nut will loosen the valve and let you remove it completely from the tank. If there was any water left inside the tank, put a small container below the fill valve opening on the floor so that it can collect it.
It Might Be Helpful:
- How to Keep Toilet Smelling Fresh
- How to Clean Toilet Hard Water Stains
- How to Fix Toilet Leaking from Tank
Ensure that the replacement is exactly as the old one or it fits
For replacement, ensure you get a size that fits. The easiest thing to do would be to get an exact copy of the one that you removed so that you are sure of the fitting. However, if you know quite a bit about toilet valves and you have an idea of a better option, go for it instead.
Put the valve in position
Adjust the new valve’s height and put the threaded end into the hole where the previous valve was inserted. Next, tighten its lock nut underneath so as to secure it in position.
Place the valve’s refill hose into the overflow tube and ensure that it does not extend down below the waterline level. If it goes past this level, it will siphon out all the water, leading to a lot of wastage. Most refill hoses come with a clip-on adapter that will prevent the tube from extending below the water level.
An important thing to consider though is to install the washers and seals below and above the valve opening before fixing it. This will keep the new installation from leaking any water.
Reconnect the water supply
Reconnect the water inlet from the wall by screwing the inlet hose into the new toilet valve. Make sure the parts are tightly fitted then reopen the water supply and let the tank fill up.
Adjust the float accordingly
The final step is to adjust the level of the float so that the tank is filled up to the correct height for proper flushing. This height is recommended to be set about 1 inch below the height of the overflow tube.
To make this adjustment, simply adjust the level of the adjustment clip, which in turn changes the height of the float cup and this controls the amount of water that flows inside.
Conclusion
From the steps above, you can see that this is a very simple process. However, you may need some tools such a wrench and a pair of rib joint pliers but these are better off to buy than to hire a plumber if your goal is to save on cost.
Recommended Resources

Leave a Reply