A toilet tank leak is a very annoying issue to have in your bathroom. Not only does it cause the bathroom floor to be wet and slippery to walk on, but it may also cause it to discolor due to the staining caused by water.
If you have this problem, you could call a plumber, but this is an expensive option. The cheapest option is to do it yourself and you only need to know how to unscrew and replace some items and that’s it.
To fix toilet leaking, simply follow the steps below.
Close off the water supply
Before even starting off the repairs, the first thing to do is to cut off the water supply. This will keep the water from flowing back in or pouring outside once you start disconnecting the lines and components inside the tank.
Basically, all you need to do is identify the line that brings in water from the outside, then close the gate valve or any other valve that is used.
Empty the toilet tank
Next, empty the toilet tank by flushing the water. After this, open the tank lid and find a way of draining the remaining water so that the tank is left completely dry.
This can be done by siphoning or absorbing the water using a sponge and squeezing it outside until the tank is completely empty.
Disconnect the water supply
Disconnect the water supply line by unscrewing the locknut that holds it to the flush valve. After this, remove the flush valve by unscrewing the back nut that holds it in place.
Remove the toilet tank
All the above steps were meant to enable you to uninstall the toilet tank from the bowl. The idea here is to replace old, worn out parts from the tank openings that are located below the water level once the tank fills up.
To remove the tank, simply unscrew the bolts that attach it to the bowl, then lift it and put it aside.
Replace the old rubber gasket
One of the areas that are most likely to be leaking is around the rubber gasket and therefore, replace this gasket with a fitting size. Also, install new rubber washers on the inside of the tank below the bolt heads of the bolts that hold the tank to the toilet bowl.
After this, install the tank back to the bowl and fasten the nuts to the bolts so as to fix it in position. Ensure you install new rubber washers before fastening the nuts. Also ensure that while fastening, the tank sits level on the bowl.
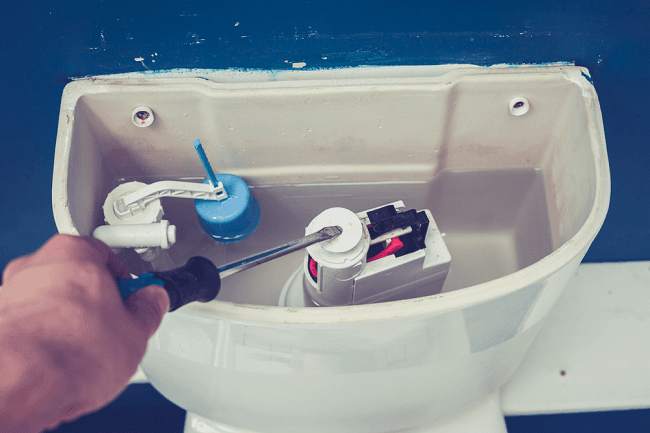
Install a new flush valve
Replace the old flush valve with a new one because this might also be the cause of the leak. When installing the new one, adjust it to the required water level then lock it tightly in place using a back nut below the tank.
Reconnect the water supply
This should be a quick final step. The water supply’s locknut should be easy to fasten by hand and that’s it.
Conclusion
After completing the repair job, open the water supply and test if everything works. With the new rubber gaskets, washers and a new flush valve, the only leakage that may occur is if you haven’t fastened the parts tightly into position.
Recommended Resources
Leave a Reply