The outside shell of a toilet is usually very durable but the components inside the tank might wear off slowly over time to cause leaks or overflows that all result in water wastage. When such a thing happens, a parts replacement is a must.
Well, some people can afford to replace the whole toilet but this is not really necessary. All you have to do is replace the guts of your toilet. These are basically all the components that are found inside the tank, from the overflow tube to the flush valve and fill valve among many others.
This will sort of renew your whole toilet but it must be done correctly. The steps given below will guide you on how to replace toilet guts.
Shut off the water supply
In any toilet repair, the first step is always to turn off the water supply. Locate the shut-off valve at the back of the toilet and turn it clockwise.
Clear out water in the toilet tank
After the supply has been cut, flush the toilet then open the tank lid and clear out the remaining water using a sponge until the tank is empty. This will ensure that you don’t wet your floor as you proceed through to the other steps.
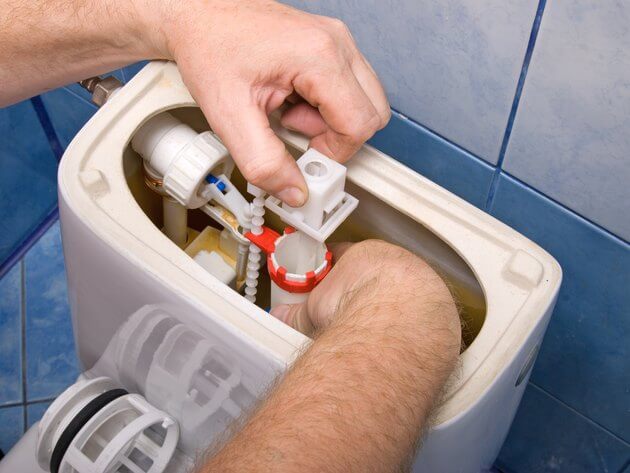
Remove the fill valve
Unscrew the inlet hose from the bottom of the tank then remove the back nut that holds the fill valve in position. After doing this, the fill valve should loosen up and be easy to remove from the tank. Remove it and also remove the flush handle, then proceed to the next step.
It Might Be Helpful:
- How To Replace Toilet Gasket
- How to Fix Toilet Leaking from Tank
- How to Clean Toilet Hard Water Stains
Separate the tank from the bowl
Getting rid of the fill valve and flush handle gives you more space to unscrew the tank from the bowl. Using a heavy-duty screwdriver, undo the two screws and nuts that secure the tank to the bowl, then lift the tank and place it aside.
Remove the gasket between the tank and bowl
Removing the tank from the bowl should expose the gasket that seals the waterway between the two parts. Remove this gasket and use a flat head screwdriver or a similar sharp object to scrape off the gasket bits that remain attached to the bowl.
Install a new flush valve
Below the tank, unscrew the back nut that holds the old flush valve and remove it. Install a new one and secure it in position using its back nut. Next, fit a new rubber gasket in the threaded part of the valve that protrudes down below the tank.
Reseat the tank on the bowl
With the rubber gasket in place, reseat the tank back to the top of the bowl and make sure that the gasket falls squarely above the bowl’s water intake so that it forms a tight seal.
Next, secure the tank to the bowl using screws and nuts, and ensure you include rubber washers in between to prevent any leakages.
It Might Be Helpful:
Install a new flush handle
The final piece of the gut that should be replaced it the flush handle. Simply fit a new one to its slot, secure it using a back nut and attach the chain from the flapper to the appropriate position on the handle.
Conclusion
With these replacements, your toilet will be as good as new. Of course, you must finish this off by reconnecting the water supply and testing the whole system for leaks and whether it works.
However, by following the steps above, everything should work much better than before.
Recommended Resources
Leave a Reply