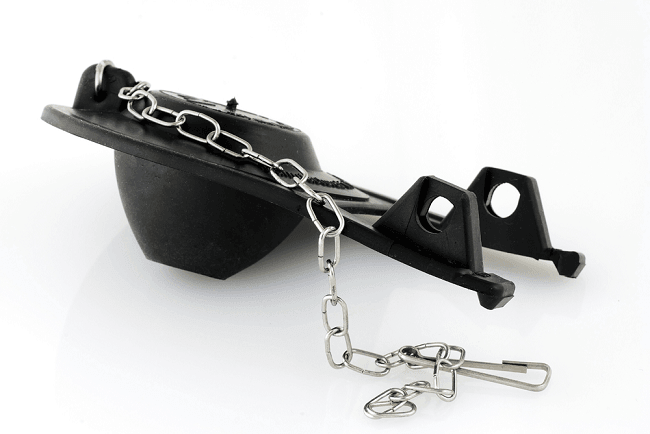
If you ever find water leaking into your toilet bowl like a continuous flush, it might be time to replace your toilet flapper. A flapper is responsible for letting out water into the bowl as you flush and thus if it does not form a good seal, water will leak down continuously as long as the tank has some in it.
The good thing though is that flappers are some of the simplest parts to replace inside a toilet. If you find your toilet having this issue, simply follow the steps below on how to replace toilet flappers.
Shut off the water supply
A toilet flapper is located at the bottom of the toilet tank and thus, to reach it, you have to empty the tank. Start by closing off the water supply and this is simply done by turning the shut-off valve at the back of the toilet clockwise.
Once closed, flush the toilet to get rid of water in the tank. Hold down the flush handle for about a minute in order to drain as much water as possible.
As compared to other toilet gut repairs, you don’t have to remove all the remaining water in the tank using a sponge when replacing a flapper. After flushing, this unit should be easily accessible and thus, it is not necessary to squeeze the water out.
Remove the damaged flapper
Unhinge the damaged flapper by pulling it out on either side of the flush valve that it is attached to, then unclip it from the flush handle arm and remove it together with its chain.
It Might Be Helpful:
Replace with a suitable flapper
This is where you need to be very careful in selecting a replacement. First, it is recommended to replace with a flapper that has Microban technology. This basically means that the flapper prevents bacteria growth on its surface and this gives it a longer service life because bacteria causes flappers to break down quickly.
Second, depending on your toilet, select a flapper that is designed to handle a similar amount of water per flush. For instance, toilets made before 1994 usually release 3.5 gallons of water per flush and thus, a flapper that works best in a 3.5 GPF toilet is recommended.
Toilets made after 1994 are more efficient and are made to release either 1.6 or 1.28 gallons per flush. These require the corresponding flappers. With this in mind, ensure you select the most suitable flapper and install it back on the flush valve.
Connect the new flapper to the flush handle arm
Connect the flapper’s chain to the flush handle arm and adjust its length so that it does not hang freely inside the tank. A loosely hanging chain can get caught up in other parts of the toilet and possibly destroy them as you try to flush.
It Might Be Helpful:
Open the water supply
Reopen the water supply and let the tank fill up. To confirm that the leak has completely stopped, pour in a little food color to the water in the toilet tank and leave it for some time. If you find the bowl having clean water, then the flapper is working perfectly.
However, if you find colored water in the bowl, you might want to clean the surface that the flapper sits on so that it forms a tight seal once it goes down.
Conclusion
As you can see, replacing this component is actually a very simple task. You might not even need any tools to do it and it will take as little time as possible. Just make sure you follow the steps above so as to replace your flapper in no time successfully.
Recommended Resources

Leave a Reply