Painting is the first thing popping in our minds for bathroom renovation. No problem arises during coloring the side walls. The hardest part comes when we have to get into the area behind the toilet. Even if we manage to slide the paintbrush somehow, the finishing looks uneven and ugly. So, how to get a smooth, flawless coating? We are presenting the complete guide to help out.
Preparation
Any method won’t work without the proper preparation. It is a crucial step to keep the paint job intact for a lifetime. Here we go:
- You don’t want the colors to drop on the bathroom accessories, right? It takes a long time to clean up the stains. Besides, the paint can damage those belongings. Therefore, remove all artwork, mats, bottles, bathroom shelf, curtains, and other items first. Store them in a dry place.
- Separate the tank lid. Bring big trash bags to cover your toilet, sink, and counter. Secure the edges properly with masking tape. This little effort will save a lot of post-cleaning time.
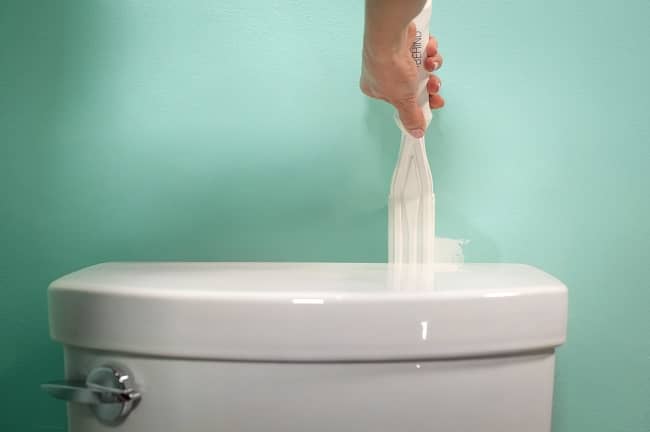
- Dirt on the bathroom wall will result in uneven texture and reduce the paint’s lifespan. Make a mixture of water and a few drops of detergents to get rid of them. Make sure that the solution is not too harsh for the tiles. Spray everywhere, rub and rinse off with water.
- Ventilate your washroom for fresh air circulation. It will lessen the paint drying time,
- Let the bathroom wall completely dry before applying the colors. Use a fan if needed.
- Apply moisture-resistant paint primer on the walls. It is mandatory for longer-lasting effects; no more peeling or water damage.
- Choose a paint, which can withstand moisture, dirt, and humidity, etc. Prioritize brands having antimicrobial properties. Buy matte or glossy colors as per your wish.
Start painting
Start by measuring the distance from the tank to the wall. Select the suitable one from these four options:
- Sponge brushes: If the tank stands several inches away from the painting zone, go for this technique. You can quickly put the sponge brush inside. Cover the brush’s one side only to protect your tank. Apply even layers carefully. It won’t take more than 5 minutes.
- Mini paint rollers: Putting a sponge brush is impossible through a one-inch gap. Mini rollers are the best alternatives to it. They are nothing but the smaller versions of typical paint rollers. A small roller pad and a long neck are part of their construction. They enable us to access all tight spaces with ease. Every group of people (expert, intermediate, and beginner) can use them without detaching the water tank.
- Sponge painting sticks: Even the mini roller method does not work in particular situations. For example, you can’t use it for less than an inch of space. You need other means to reach the area. A painting stick will help you out. You can either use jimmy sponge stix or make a DIY stick. Collect a thin piece of wood and smoothen the sides. Glue a thin sponge layer or rag around it. Take colors in the tray, dip one side of the sticks in colors. If you don’t have a tray, apply the colors directly from the bucket using a paintbrush. Guide it behind the toilet, press against the wall for maximum coverage, and move back and forth. Keep repeating until the entire wall gets painted perfectly.
- Remove the toilet: What if all of them fail? It happens when there is barely any space left between the wall and the tank. In such cases, removing the toilet is the only solution. Wait a while for the paint to dry. You can install the toilet after cleaning up the mess.
Clean up
As you covered the toilet earlier, it won’t get any paint stain. However, some paint will drop on the floor. To clean them:
- Rub them gently using a soft cloth or sponge.
- Some hard drops may insist on staying. Use a mild cleanser or water-vinegar solution on them.
- Spray warm water to clean the floor.
- Finally, you can remove the tape and plastic bags.
As you have known the ways to paint behind your toilet, taking help from professionals is unnecessary. Say goodbye to the possibilities of leaving unpainted wall spots.
Leave a Reply