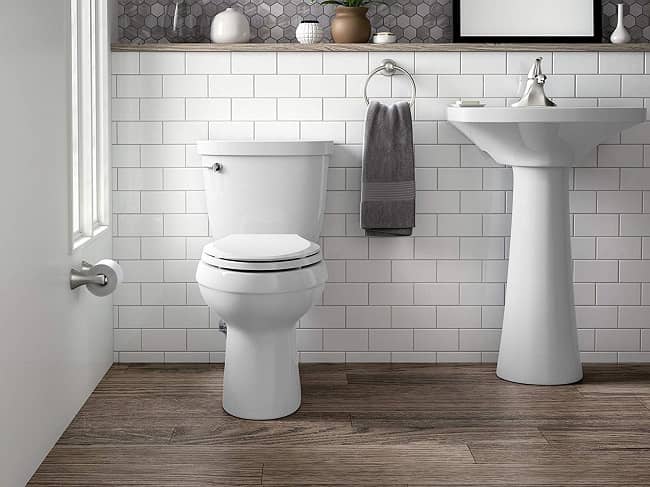
Kohler is a renowned, well-revered brand that makes some really high-quality, luxurious-looking toilets. However, no matter how high-quality the toilet is after years of use, common issues occur for sure.
The point is whether solving those problems that we are facing with such an integral part of our life is easy or not. Whether we have to spend money by calling a professional to fix that issue, or we can do it all by ourselves following easy steps.
And when it comes to the issue of fixing a Kohler toilet that keeps running, favorably, we can do it ourselves. So, let’s look at the few steps to fix a running or leaking Kohler toilet.
Step #1 – Drain The Water In the Flush
The first step is to empty the flush tank. So take off the flush cover or lid. Kohler toilets have some really convenient mechanisms, so you should be able to do it effortlessly. Just be a bit careful and gentle with the components; that’s it. Turn the water off by turning off the flush water tap and push the flush lever to drain all the water from the flush tank.
Step #2 – Assess Your Flush Tank Type
In most cases, the Kohler toilet you have will have a tank that doesn’t have a flapper to stop the water from draining from it unless you have pulled the lever. Kohler toilets, the common ones, actually use a rubber ring.
It’s right beneath the cylinder unit that is chained with the handle. And the chain does its job in pulling the cylinder up, breaking the seal that the gasket or washer, whatever you name it, has well-maintained by holding the water in the tank.
Step #3 – It Could Be the Rubber Ring
If the ring is causing the water to run, either you have dirt or sediments all over it, thus not letting it seal the flush hole. Or it needs replacement as the rubber material has disintegrated. In the first case, you just need to clean the ring thoroughly.
You have to scrape the dirt off from it. Do it with your hand or remove it and thoroughly rinse it with plain water. If it’s the latter case, then you will need a new gasket. Purchase a good-quality one.
Step #4 – Replacing The Gasket
To replace the gasket or even check it thoroughly, you obviously have to remove the cylinder unit from the flush hole. Keep in mind that it is also connected with the lever handle through a chain. There is a round disc right on the top with a tube above the cylinder unit.
The cylinder is connected to the fill valve or float with its hose through that tube on top. First, take off the hose and rotate that disc about 45-degree to the left to unlock the unit from its slot. The whole cylinder component will come off, and you have exposed the flush hole.
Don’t worry, thinking you have damaged the tank somehow. You can remove the chain to work freely, but we do not believe it’s required because the unit can be held upside down even when attached through the chain.
Step #5 – Take Off The Gasket And Put The The New Seal
The gasket comes off the cylinder unit with a slight pull. Take it off and gently put the new gasket on the very slot. Please avoid hurrying. It will make things difficult. Now, make sure to put the cylinder back on the flush hole properly.
Otherwise, no new seal will be of any use to stop the leak. Inside the cylinder unit, you have a component with a notch that perfectly fits the set slot on the flush hole. Put the notch carefully on that, and then twist the top portion you rotated to the left earlier.
This time turn it to the right, and you have locked the unit at its place. If you have removed the chain from the handle, join it back. Put the hose of the fill valve on the tube on the top of the cylinder unit back too.
Step #6 – Its The Chain Or The Fill Valve
If the seal is not causing the running issue, then it could be either you have connected the chain with the handle too tight. Just adjust it by giving it some slack. Or your tank is overfilling and reaching above the fill valve, causing running water. In that case, you have to adjust the water level.
Step #7 – Adjust The Fill Valve Screw
There is a screw right there on the fill valve. Twist it counterclockwise to stop the tank from overfilling. You might not adjust it at one go, so try twisting it slightly once at a time and then check whether the tank is still overflowing.
So, when you now know all the different reasons that cause a Kohler toilet running and how easy it is to fix it, try and fix it pronto.

Leave a Reply